
Tags
Opal’s room is finally starting to look like a nursery thanks to one essential addition that was missing….
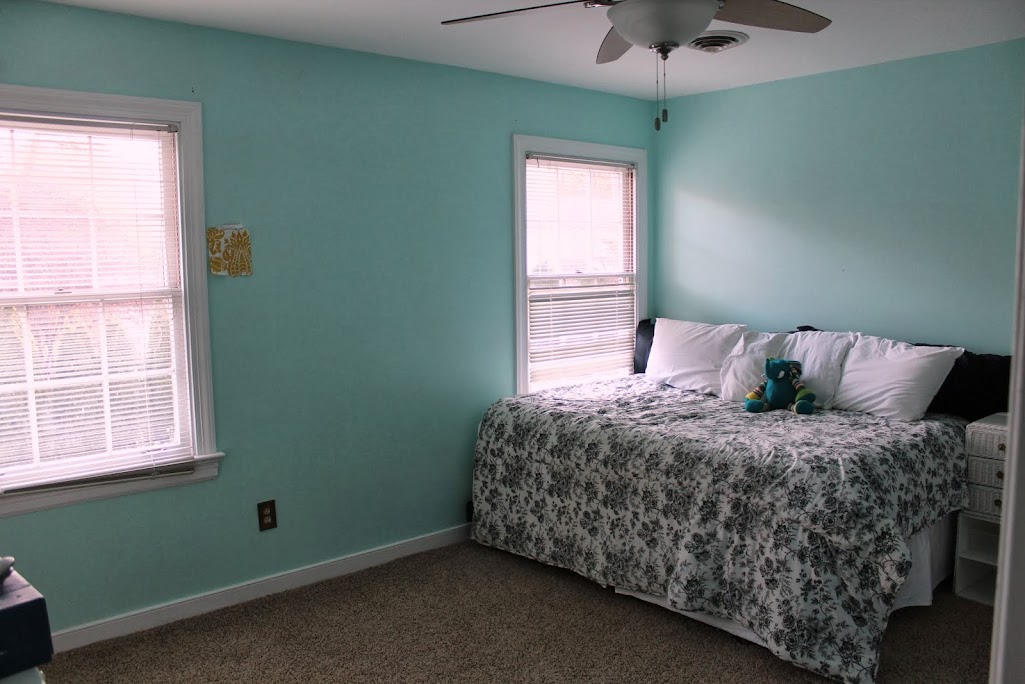
….somewhere for her to sleep.
We decided to buy a second crib instead of trying to move B to a bed. He’s not ready. He is doing a great job sleeping these days (knock on wood) because once he’s in his crib, he knows he’s not getting out. He sings and talks himself to sleep. A mother’s dream.
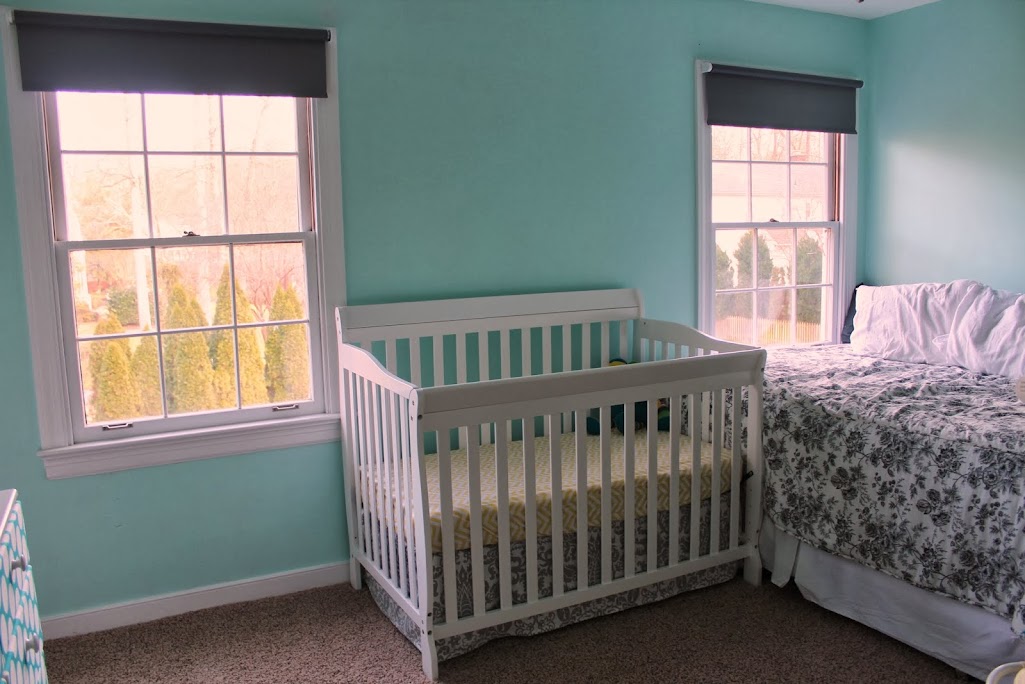
You’ll also notice something that looks a little out of place….the queen bed is still in there. This is totally a second-time mom decision. First time around it was suggested to me to leave the double bed in B’s nursery. I balked at the idea concerned that the nursery wouldn’t “look right”. This time, the bed stays. Instead of putting Opal in our room when she comes home from the hospital, the plan is for her to go in her crib from the first night. I’ll sleep in her room during those first nursing intensive weeks with the realization that it will be easier for me to move rooms than for her to adjust to a new room. Second-time mom for the win.
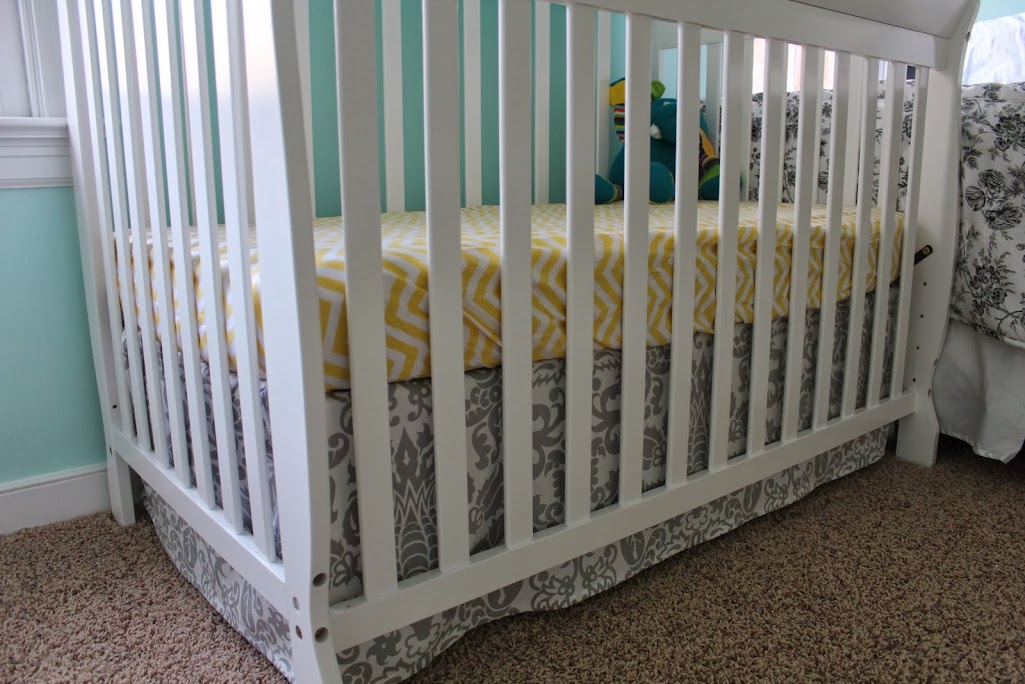
Of course her crib needed a skirt….so of course I made it. It’s so easy. Just like with B’s I took shortcuts. Working smart, not hard 🙂
(Speaking of working smart…I bought the crib sheet from Target. Too much effort to do the elastic corners and not really any cost savings by the time you get enough yardage. Thanks Tar-get for saving me a sewing project.)
I chose Premier Prints Amsterdam in Storm. I like the traditional print in a clean modern color scheme. I’ll also say again that I am obsessed with Premier Prints because they are so reasonably price and have big bold patterns. They are all over my house.
1. Cut the fabric to the appropriate dimensions. Using upholstery fabric (54″ wide), gives enough width not to have to railroad or piece together the fabric. #win
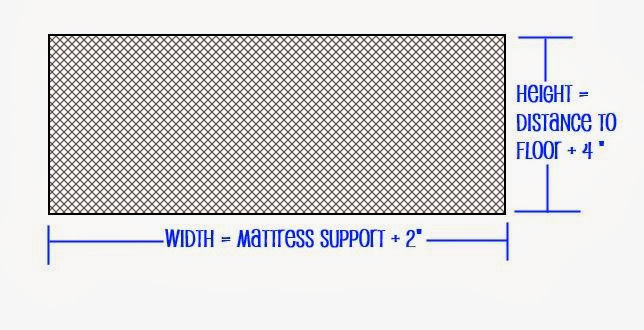
Three pieces of fabric will need to be cut: one for the front and one for each side.
The width of the fabric should be cut to the width of the mattress support plus how much you hem each side. I hemmed each side 1″ so I added 2″.
The height of the fabric should be cut to the distance from the support to the floor plus the amount hemmed and some extra.
2. Hem all sides appropriately.
3. Add button holes to the top edge about a foot or so apart.
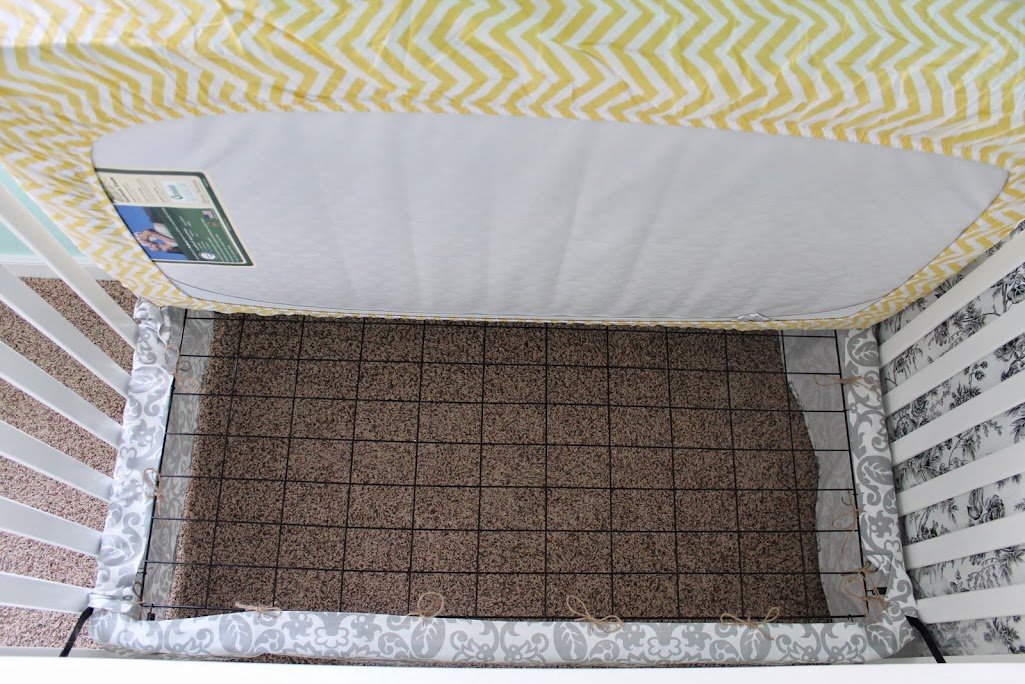
4. Add ties to attach to the springs of the crib (see here if you have a board support for how I attached Bradley’s crib skirt)
The nice thing about this solution for a crib skirt is that it can be easily raised as the mattress is lowered. Oh, and it’s incredibly easy.
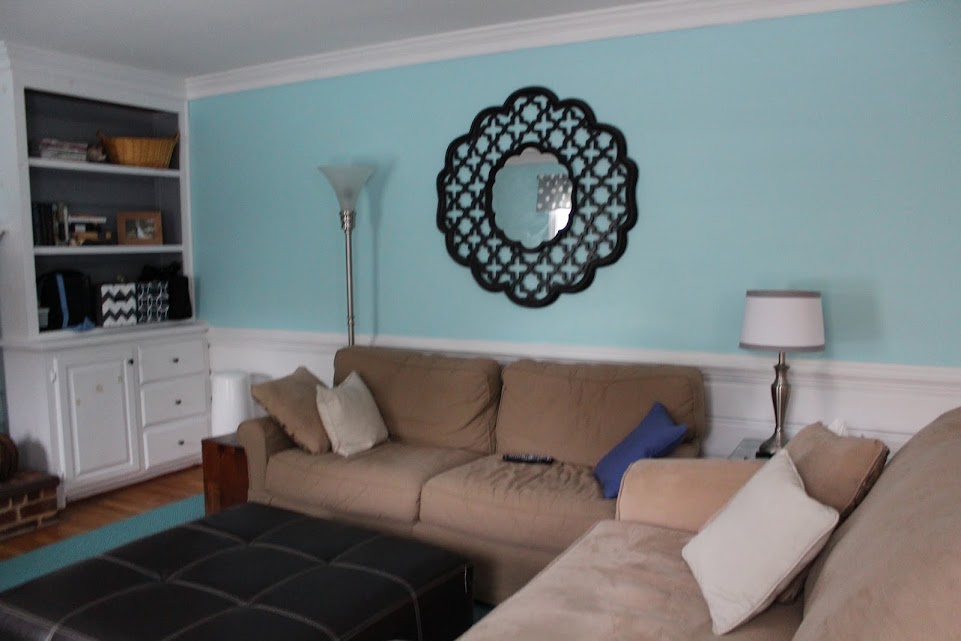
Now that she has somewhere to sleep, the wall needs some flair. No worries…flair is flying in soon.


 As B gets bigger, the crib mattress will move down so the skirt will have to shorten. Instead of making something I would have to rip and resew or hem, I decided to work smart and staple the skirt directly to the board that supports the mattress. When the board moves down, I just have to restaple. Genius, I know.


