
Tags
I started knitting again. Thanks to a MOPS meeting last February, I dug out my old knitting needles from when I learned to knit 20 years ago. My sweet grandma taught me. She was always knitting something for someone.
Especially in the early days of maternity leave when I would look at the end of the day, exhausted and weary, and think, “What did I DO all day?” I rocked a screaming baby, I encouraged him to laugh, I did a million other things but nothing concrete. These days with a running toddler, despite a whole day of housework everything is messier at the end of the day sometimes leading me to the, “What did I DO all day?” On the days I knit, even if I only get a row or two done, I can look down and say, “That. There. I did that.” Knitting is easier than pulling out all the sewing stuff (though I am hoping nap will get reliable enough to do that one day) and feeds my creative soul.
One of the projects I made this fall is a hat for Bradley. Using Lion-Brand Wool Ease Thick and Quick yarn, makes this project super fast. It only takes an hour or so…but who has a continuous hour?
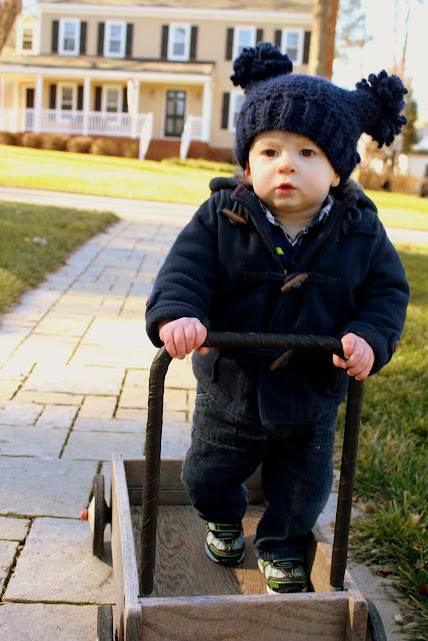
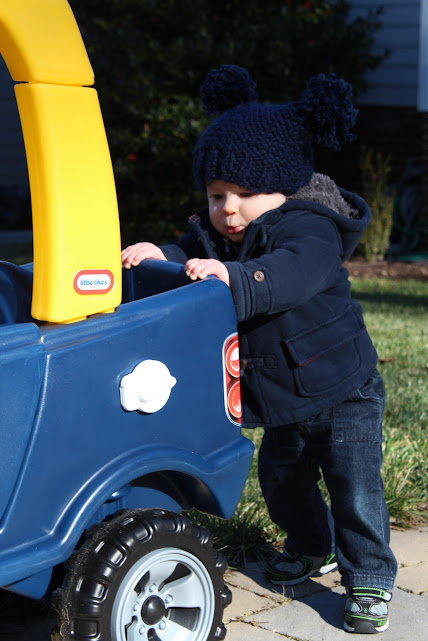
It’s perfect for all our days playing outside. I think he is adorable. My friend’s three-year-old insists it is a “Micky Hat”. My mom said that if he wore it to kindergarten, he would get beat up. Eh…to each their own 🙂
I also made it with supplies I had all on hand. It was a free project as part of my $40 challenge in November.
DIY Double Pom Baby Hat
Supplies:
-3/4 skein of Lion Brand Thick and Quick Yarn
-Size 13 Needles (circular needles would be best, but I didn’t have them)
Size: Bradley has an average 12 month old head (about 18 inches) To resize bigger or smaller, cast on more or less stitches accordingly. From a different Lion Brand Pattern, they suggest 36 stitches for 9 months and 44 stitches for 2T.
Pattern: With the chunky yarn, I kept things simple. The garter stitch gives a fun “zig-zag” in the chunky yarn.
Cast on 40 stitches
Row 1: K1, P1, repeat across the row (if using circular needles join to circle)
Rep last row until piece measures 1.5 inches from beginning
Next Rows: Knit stitch across on all rows until the hat measures 6 inches.
Cast off (if working with circular needles use a three needle bindoff)
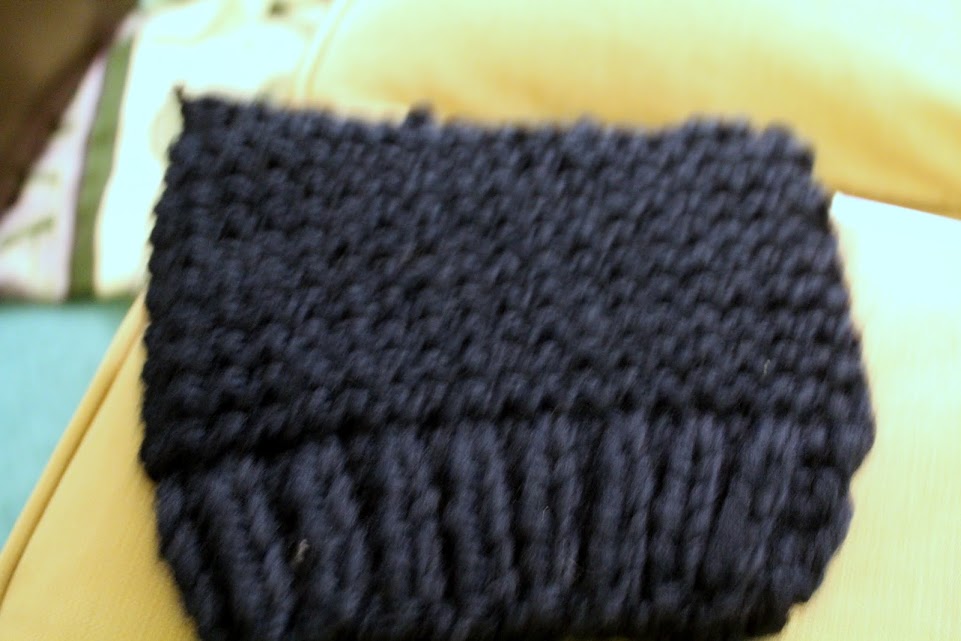
If you worked with regular needles, you now have a giant rectangle. (excuse the poor pictures taken at night)
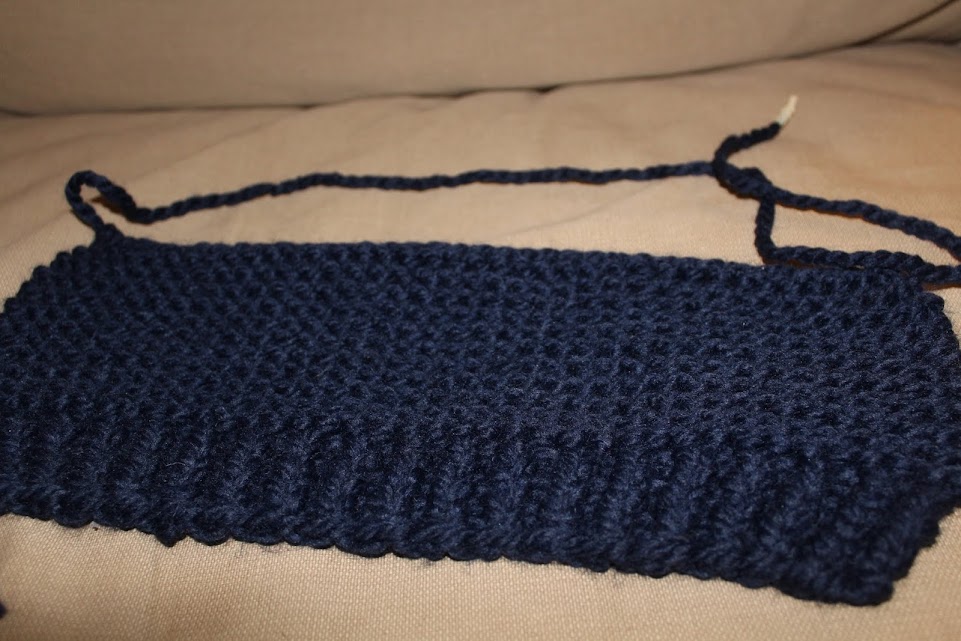
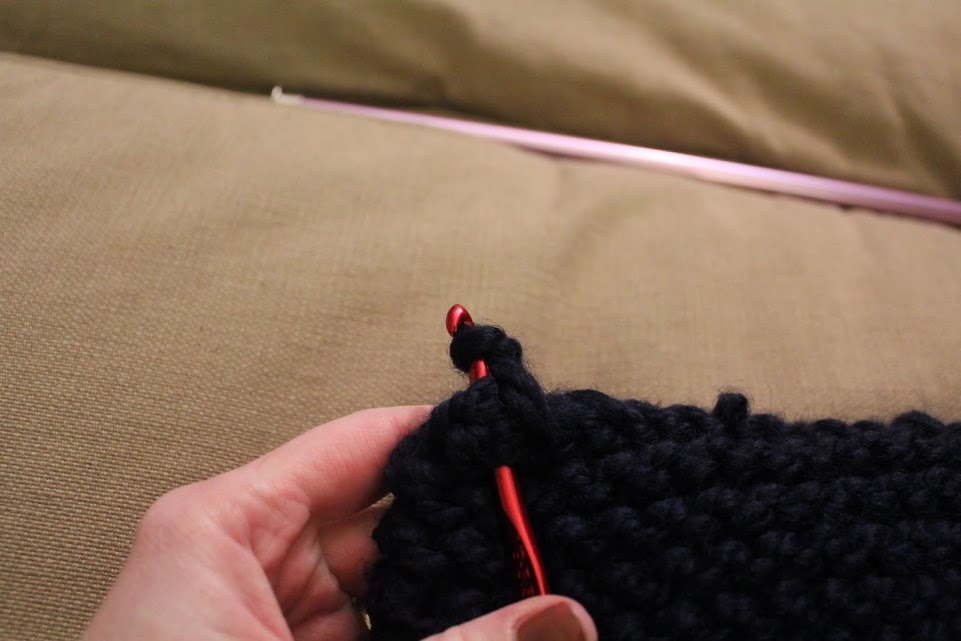
Fold the piece in half and stitch up the sides and across the top. I used what I had on hand, a crochet needle, but there are easier ways to do this.
Your finished hat pre-poms is a rectangle.
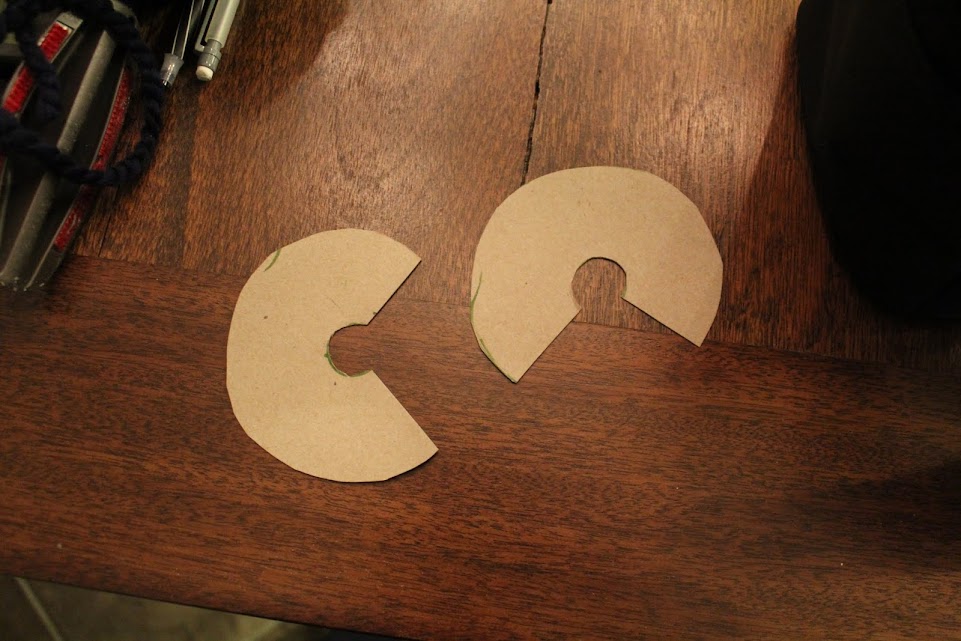
To make the pom-poms, I used two “C”s cut from cardboard similar to this tutorial. Keep in mind that the thickness of your template is the radius of your pom. Also, I learned the hard way to keep the radius of the inside edge small. It will be much easier to tie off the pom after you trim cut the loops.

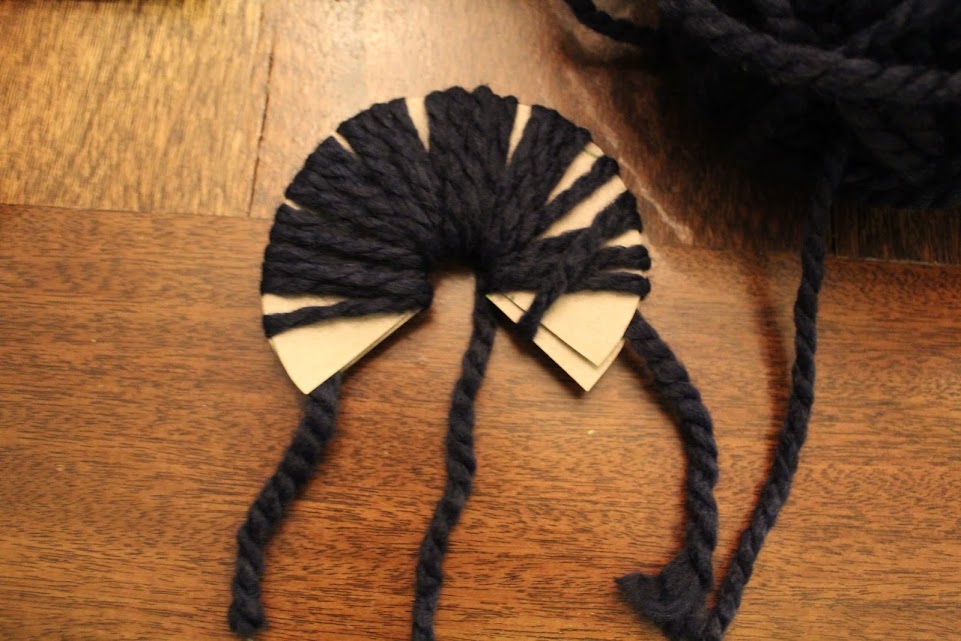
Attach poms and you’re done!
I swear my poms looked much better before two months of Bradley pulling out all the pieces. He lurves destroying the poms but he still looks adorable.

